|
|
|
|
|
|||||
|
Classroom Photographs & Videos |
|||||
|
|
|||||
|
Rube Goldberg Machines |
|||||


|
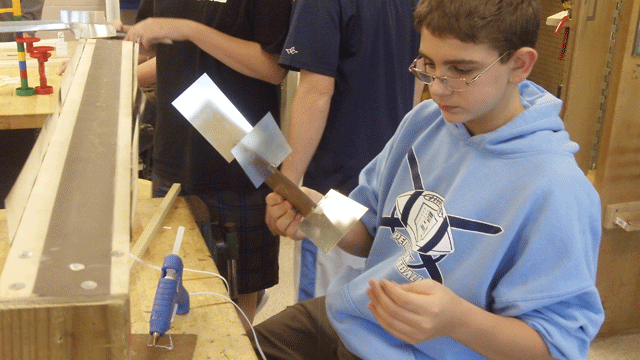
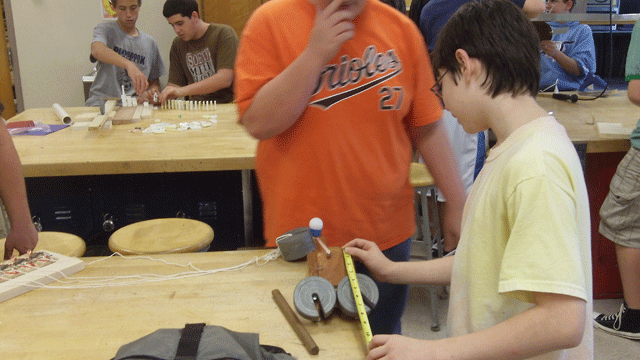
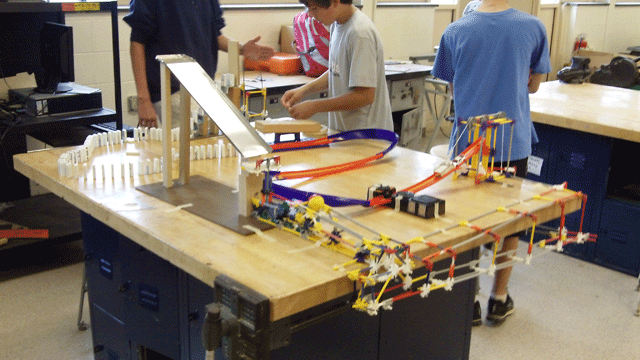
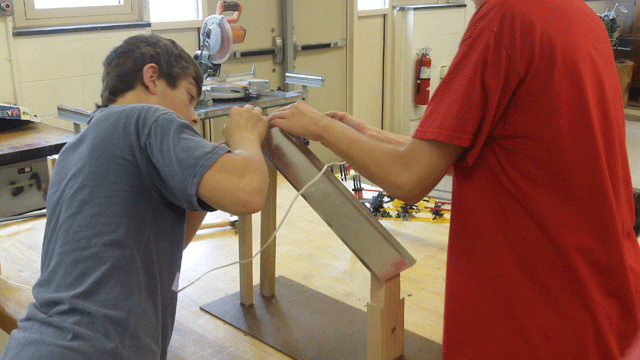
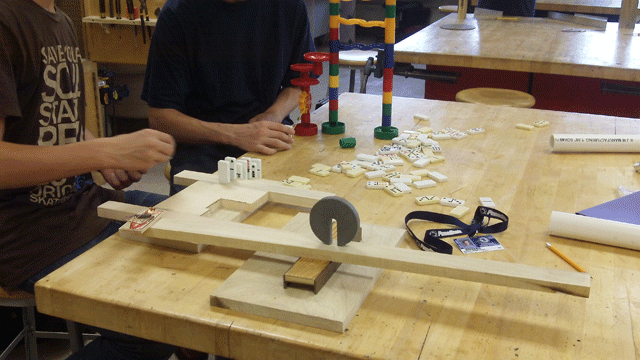
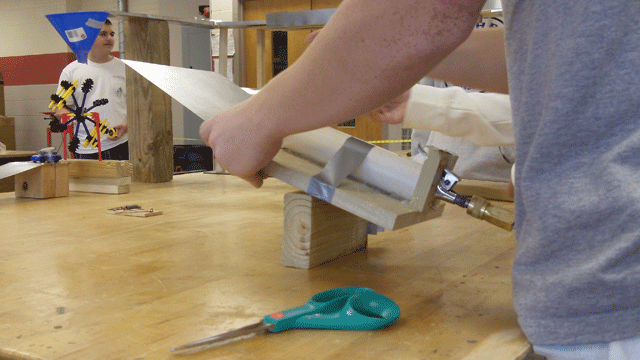
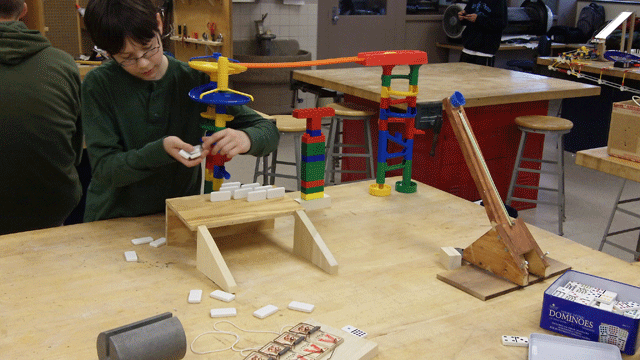
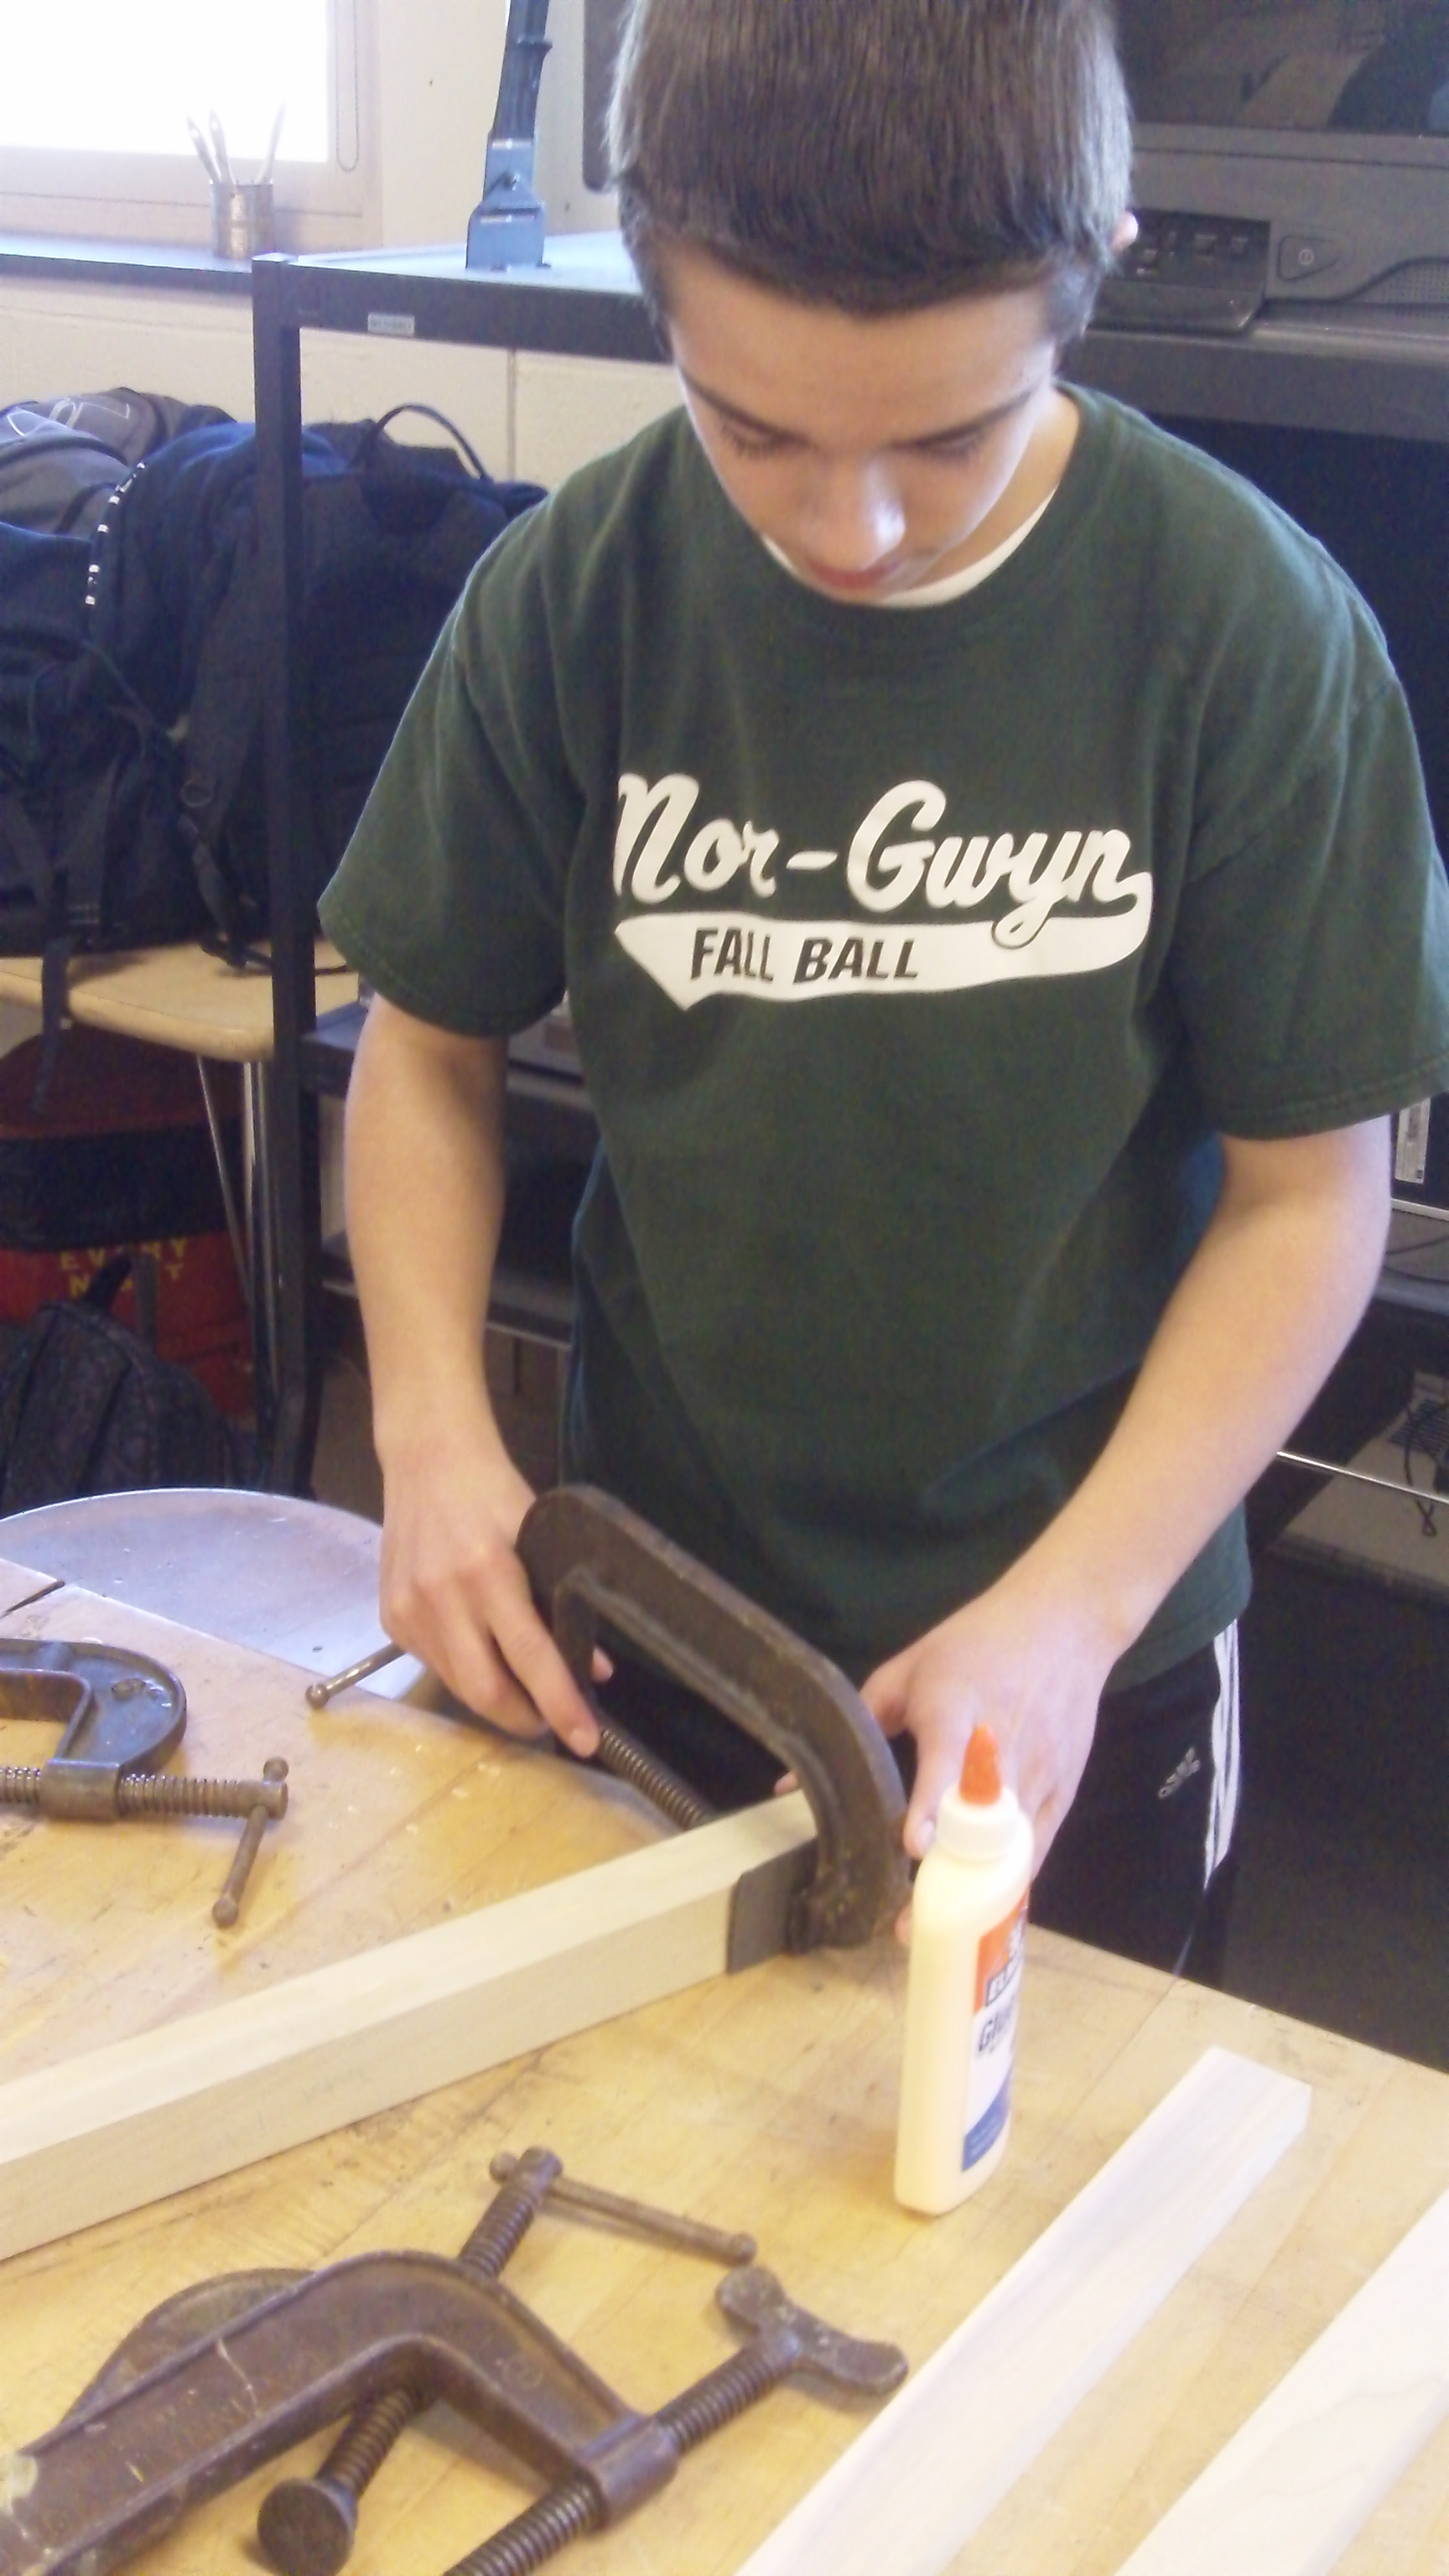
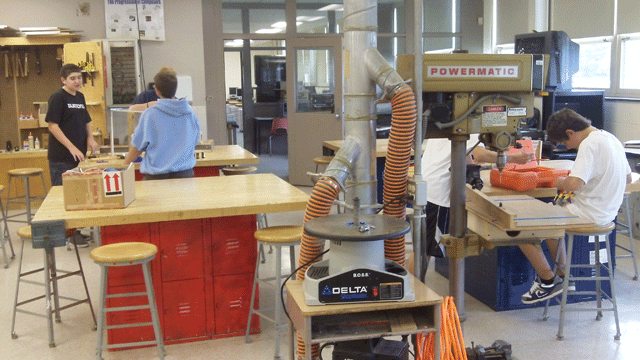
The Rube Goldberg Activity is not only an extremely fun activity, but it also is extremely challenging. During this activity, students are challenged to develop a complex machine that will ultimately launch a ping-pong ball at a target. In order for this machine to work, the students need to develop 6 steps that will work together to activate the launching mechanism. Students select their own groups of about 3 - 4 members per group and have roughly one full marking period to design and construct their machines. Students will have access to a wide variety of materials present in the lab as well as materials they are able to bring in from home. Throughout this activity, students are introduced to the concepts of simple machines, complex machines, mechanical drawing and wood lab machine safety. Students will need to pass specific safety tests before they are able to use the machine in the development of their projects. Click on the thumbnail images to the left to see the larger version. |
||||
 |
This video highlights the construction and testing of the Rube Goldberg Machines. Click the image on the left to launch the video. |
|
This video highlights the many machines that students had to use to develop their Rube Goldberg Machines. For each machine that the students used, they had to first pass a safety test to make sure they understood the proper use. Click on the image to the left to launch the video. |
||
|
Wood Candle Holder Project |
|||||
|
|
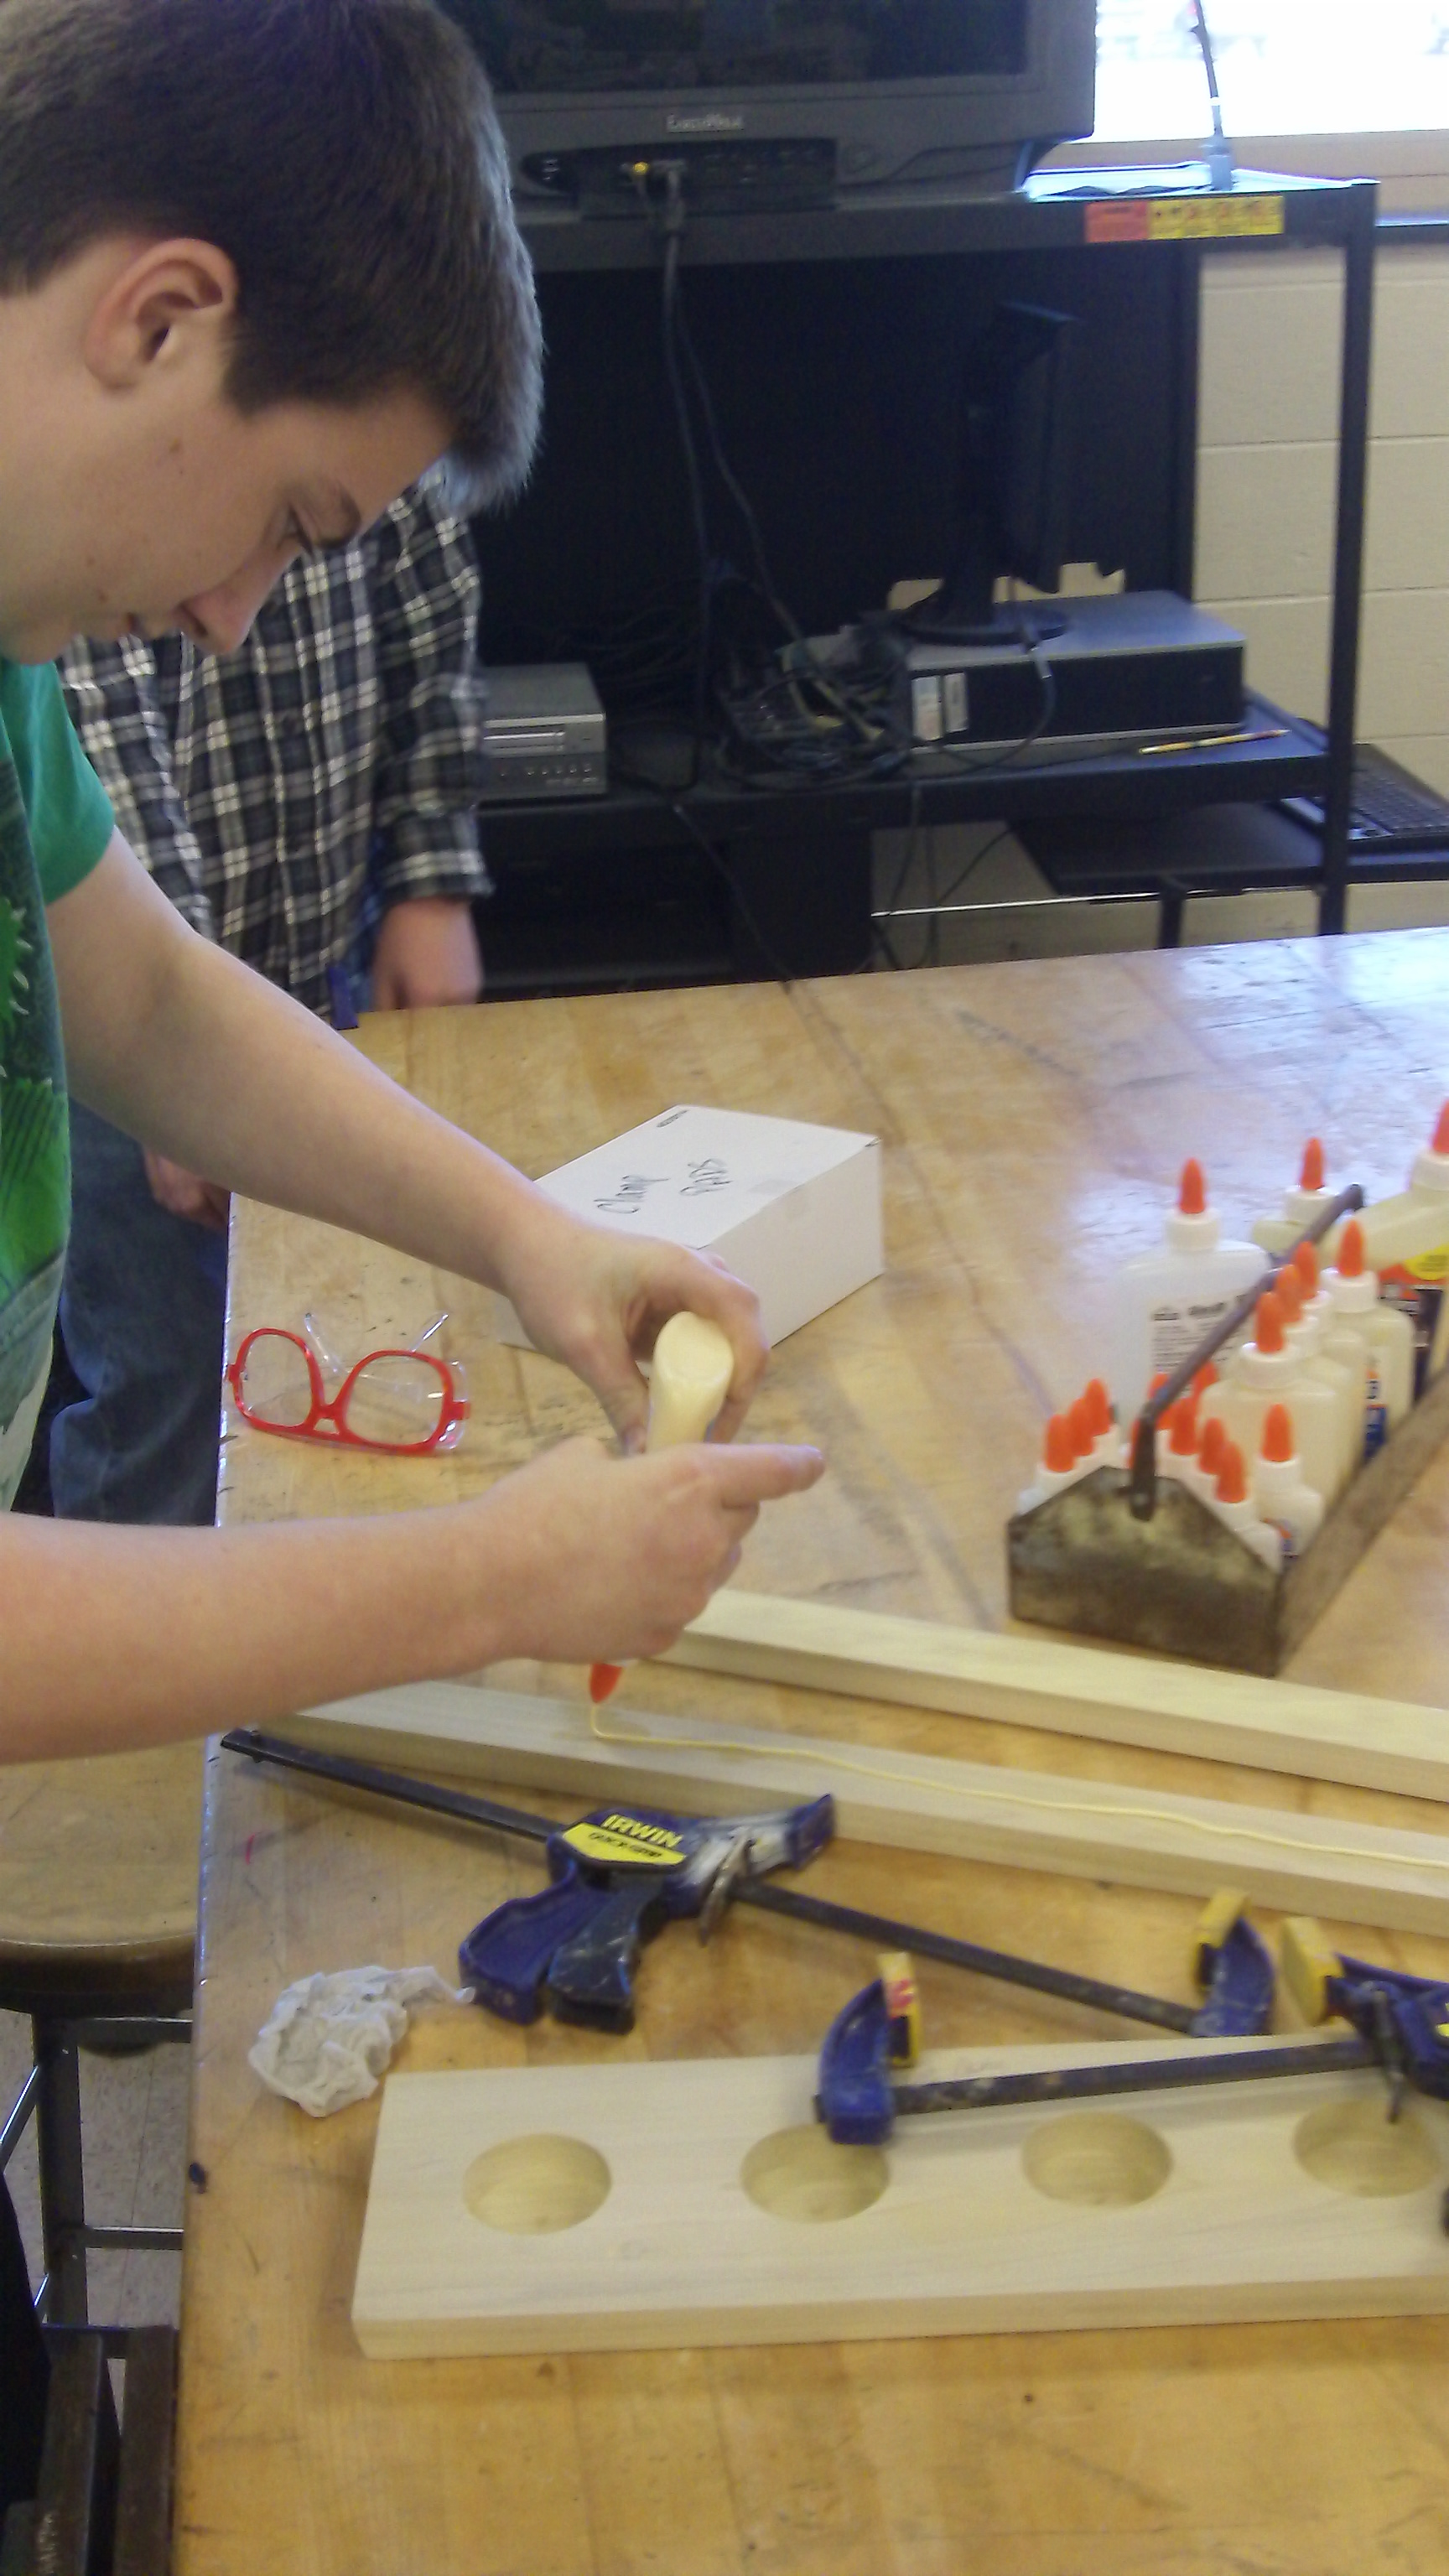
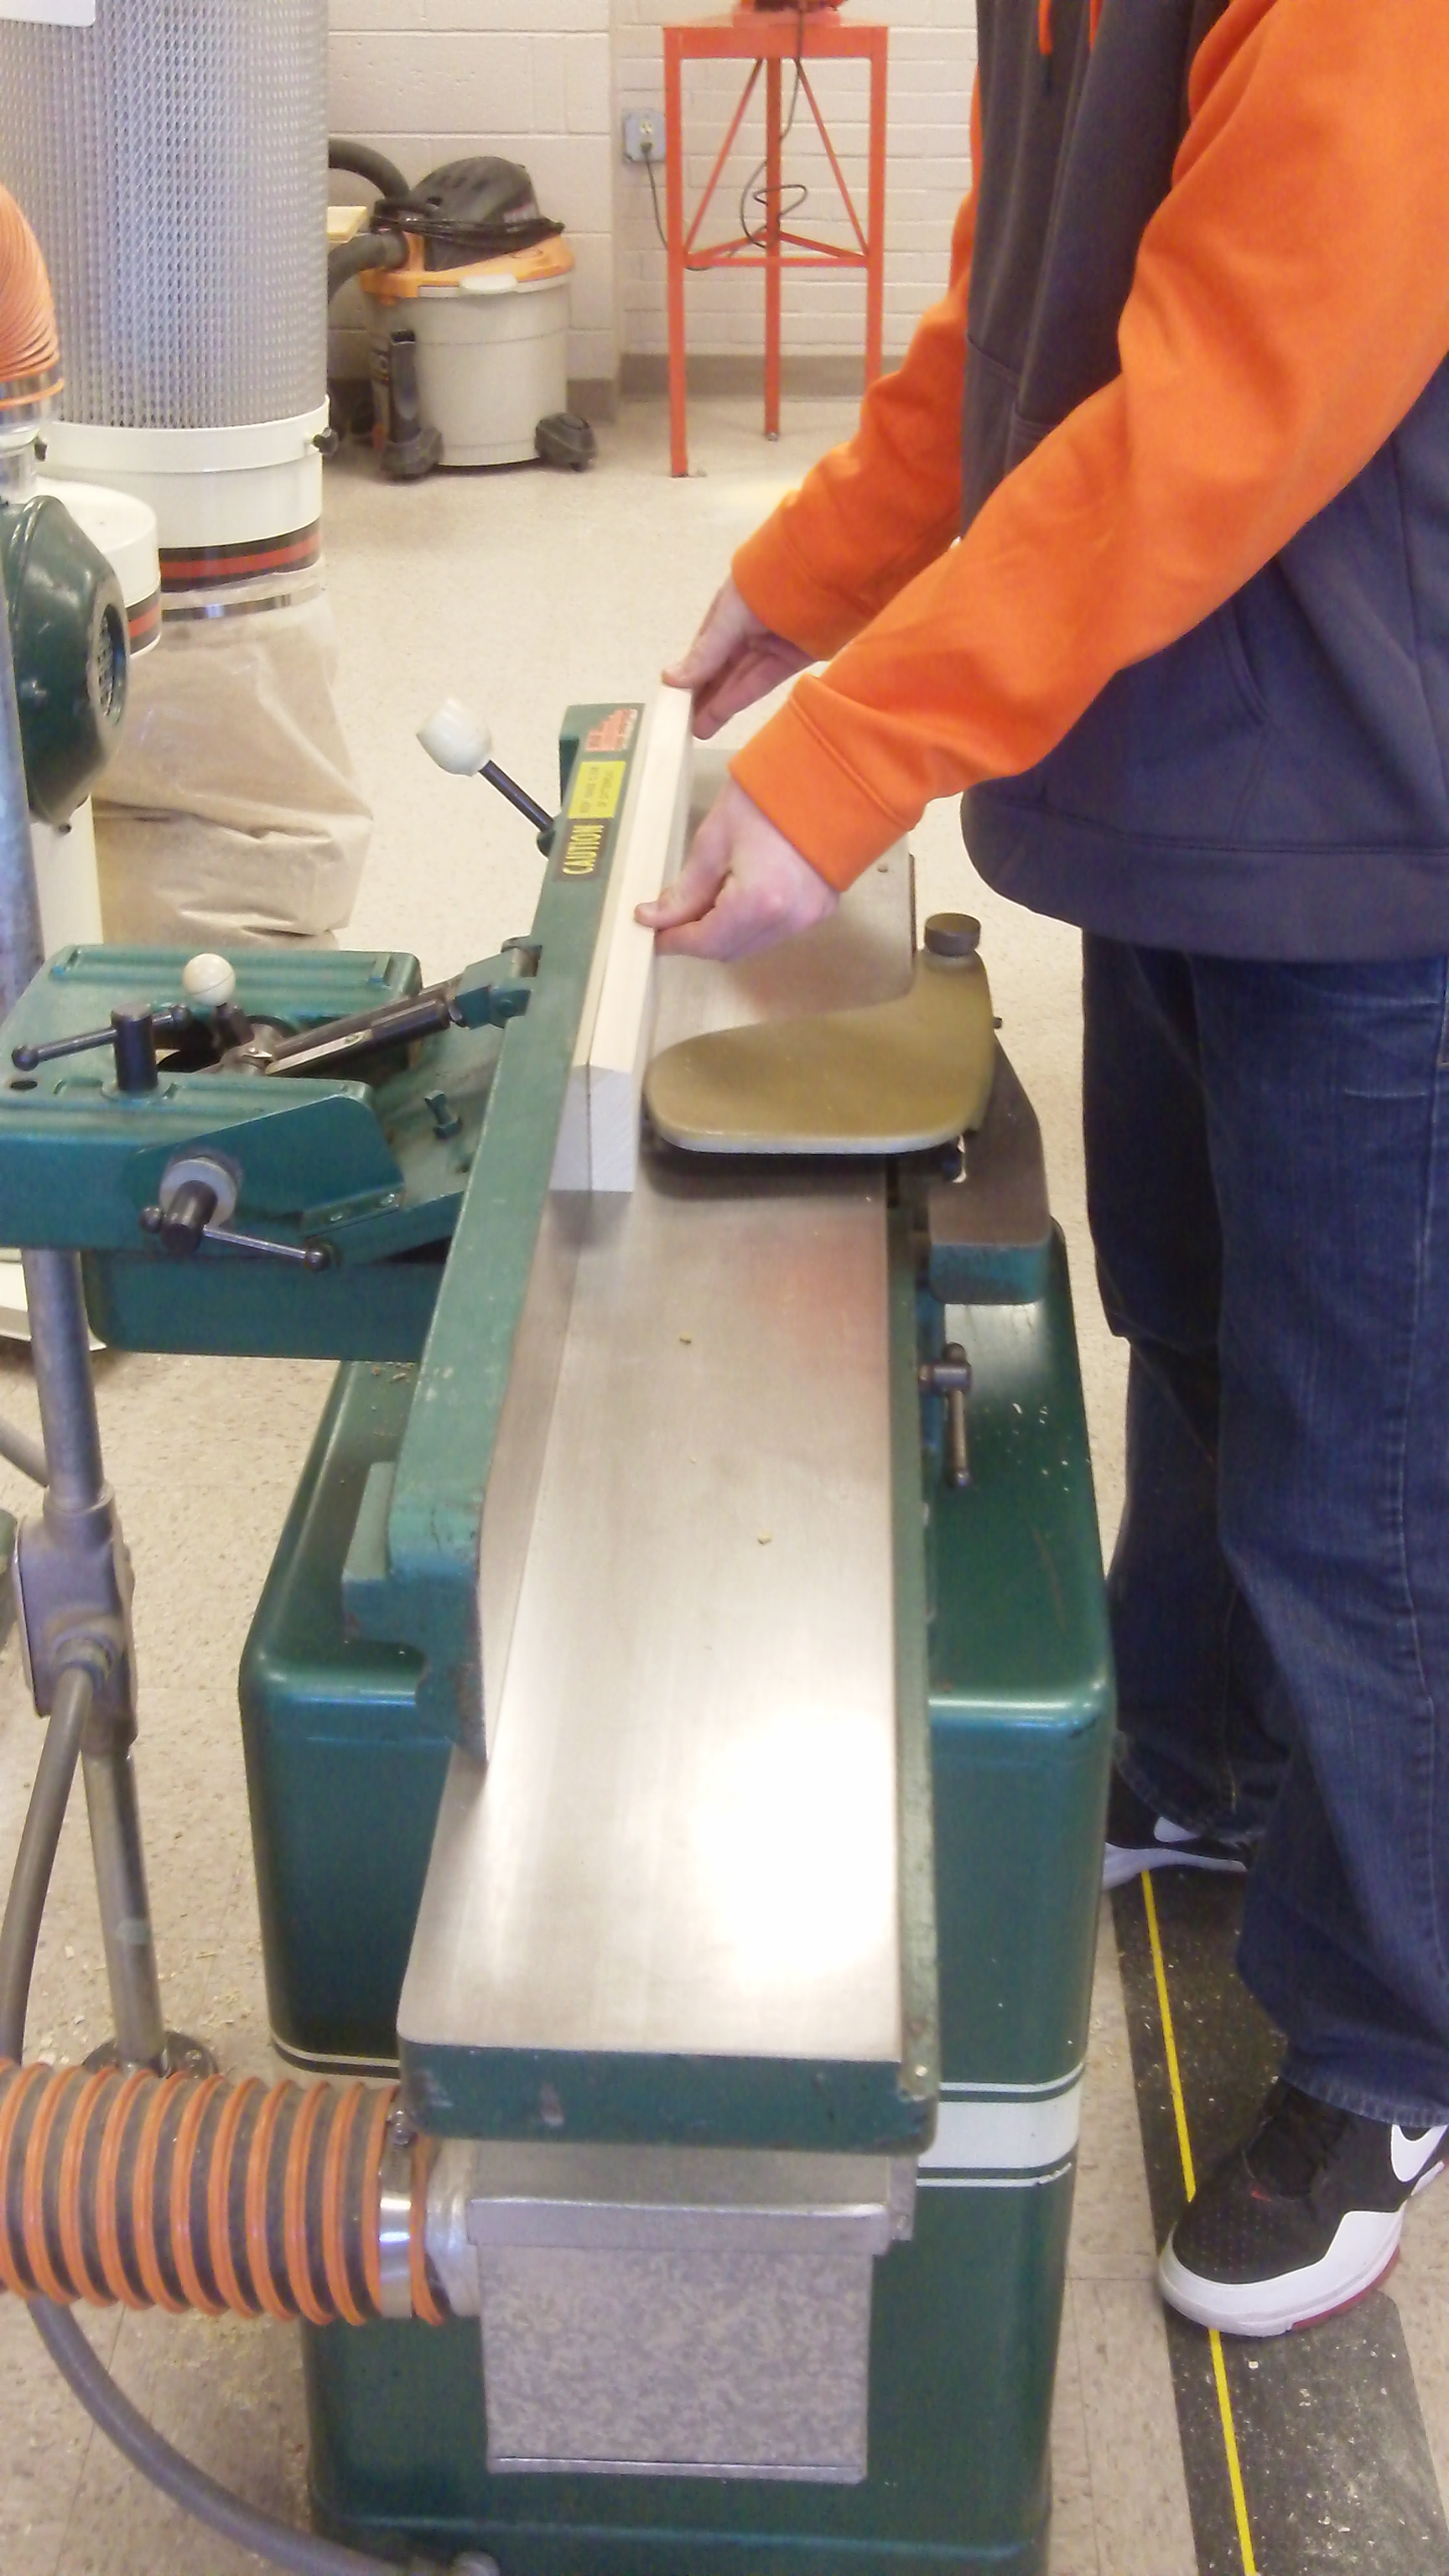
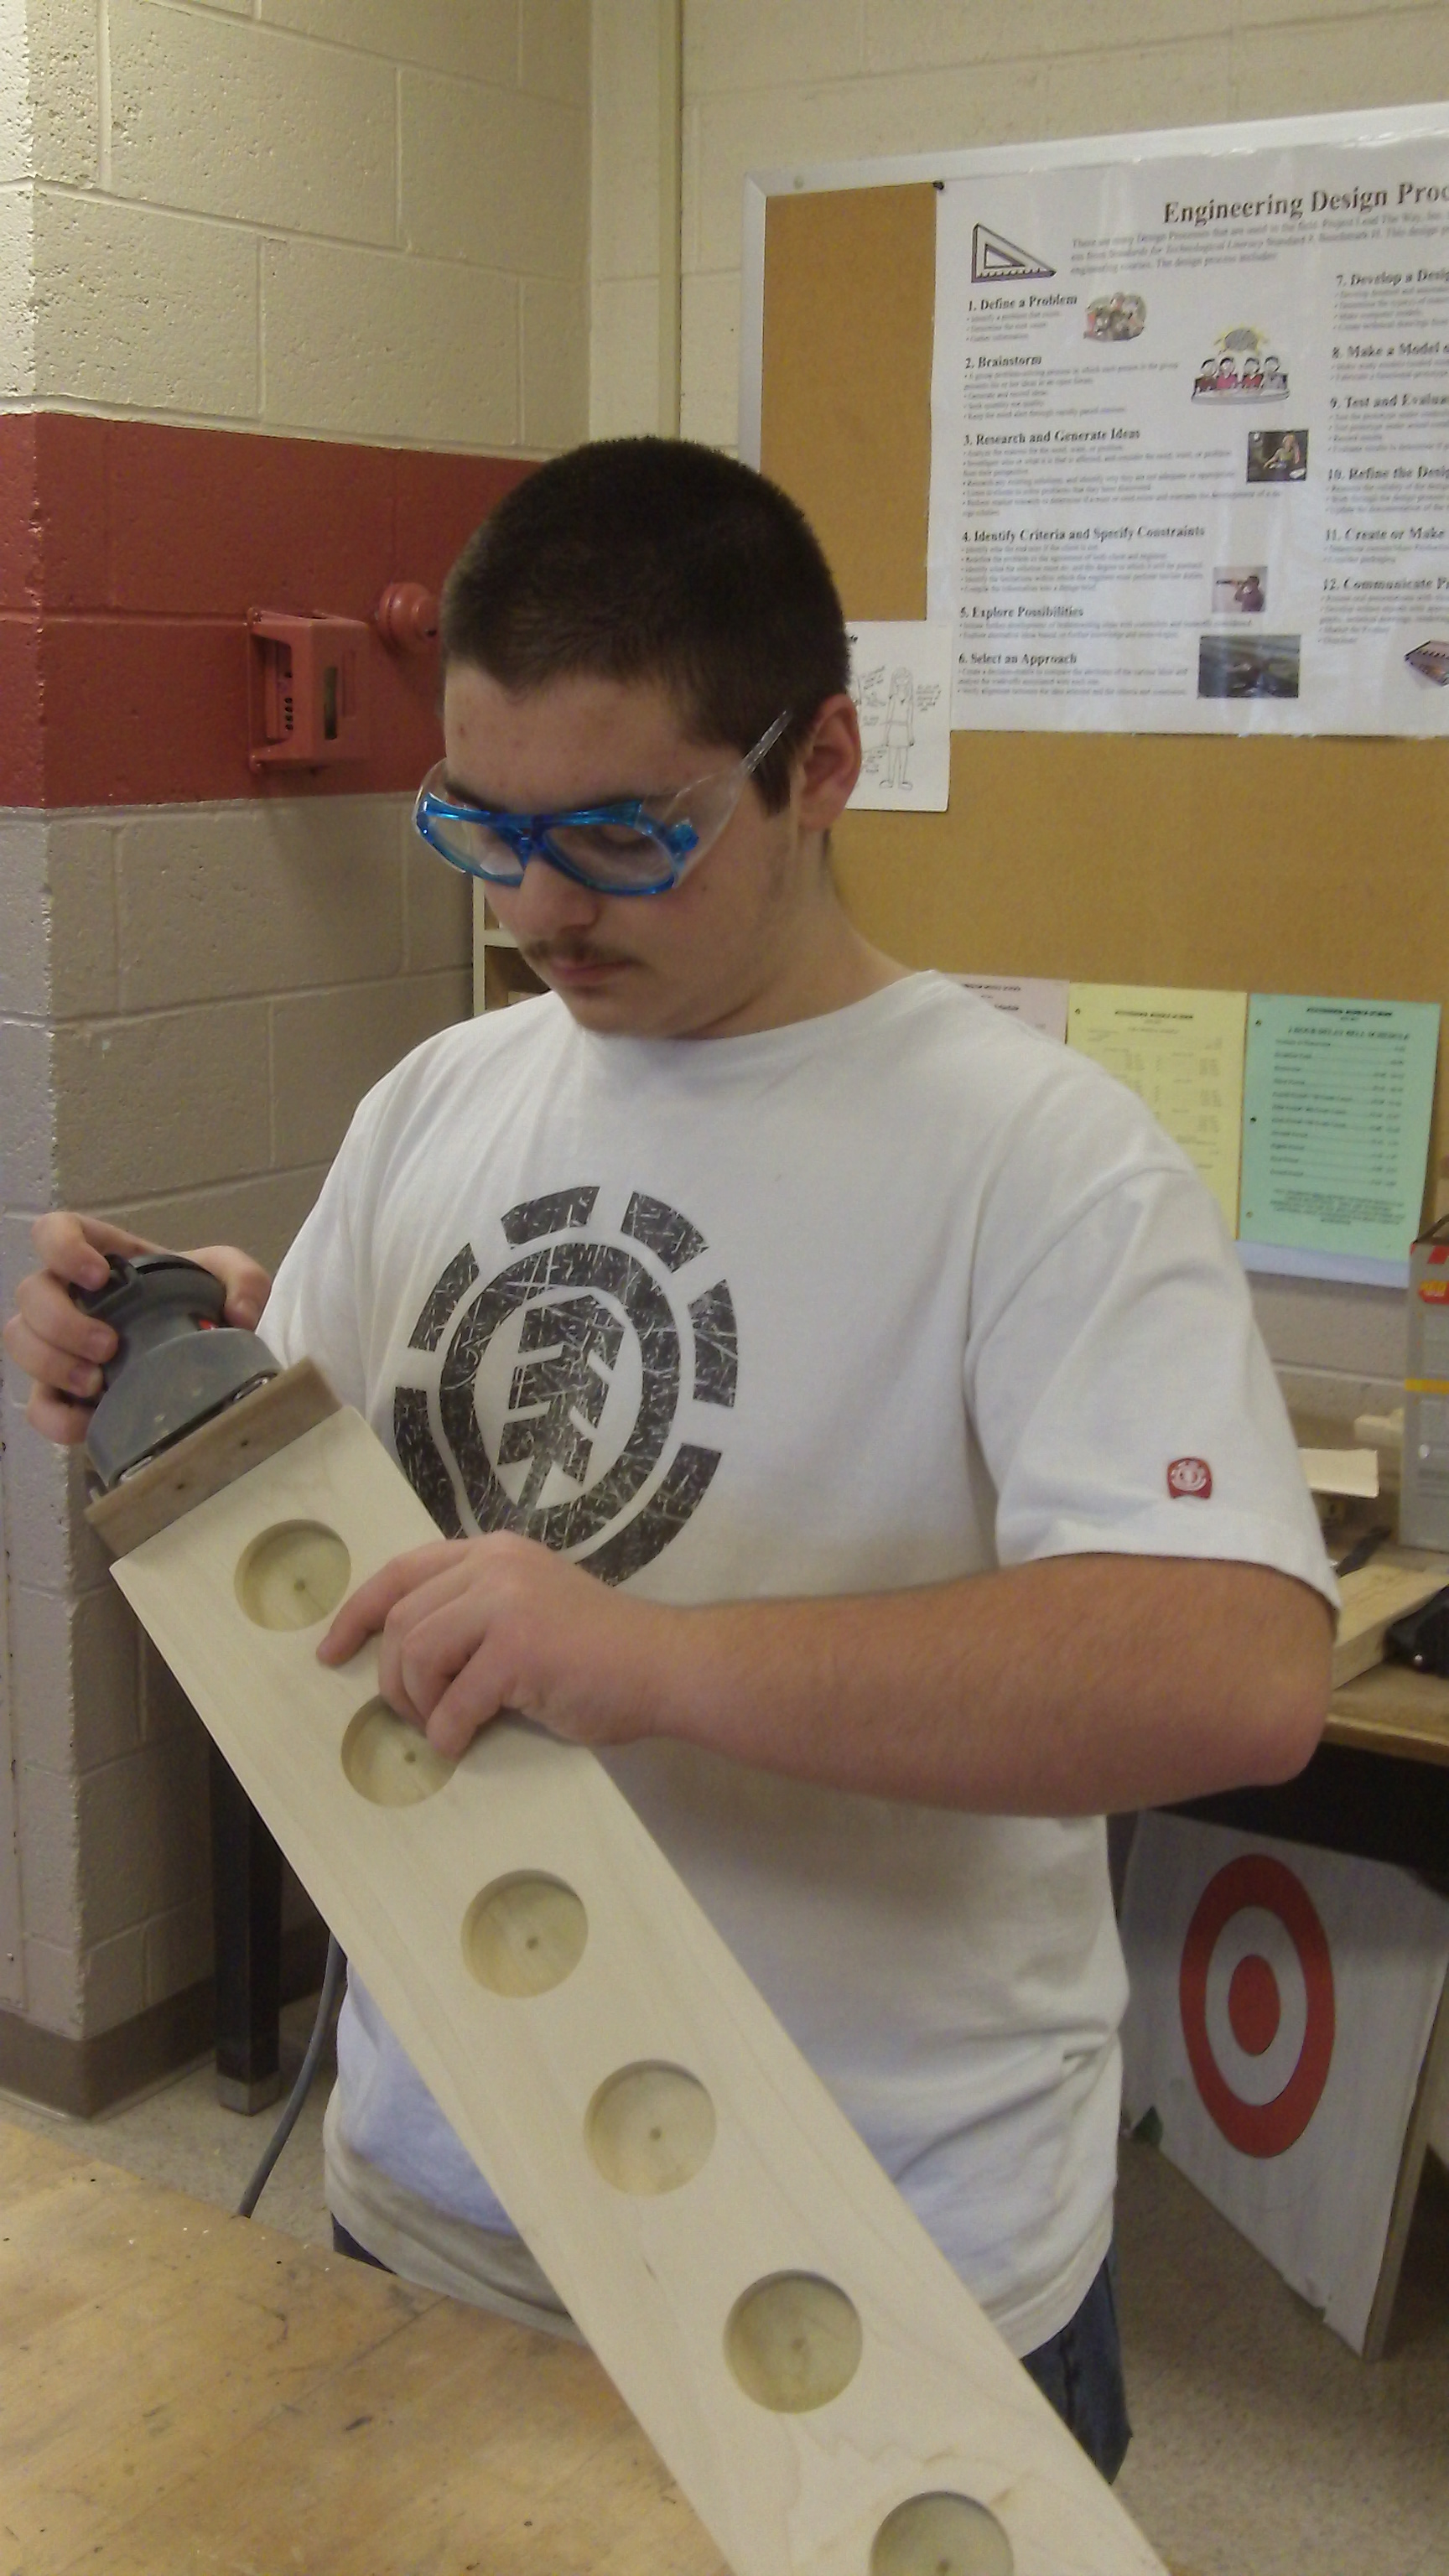
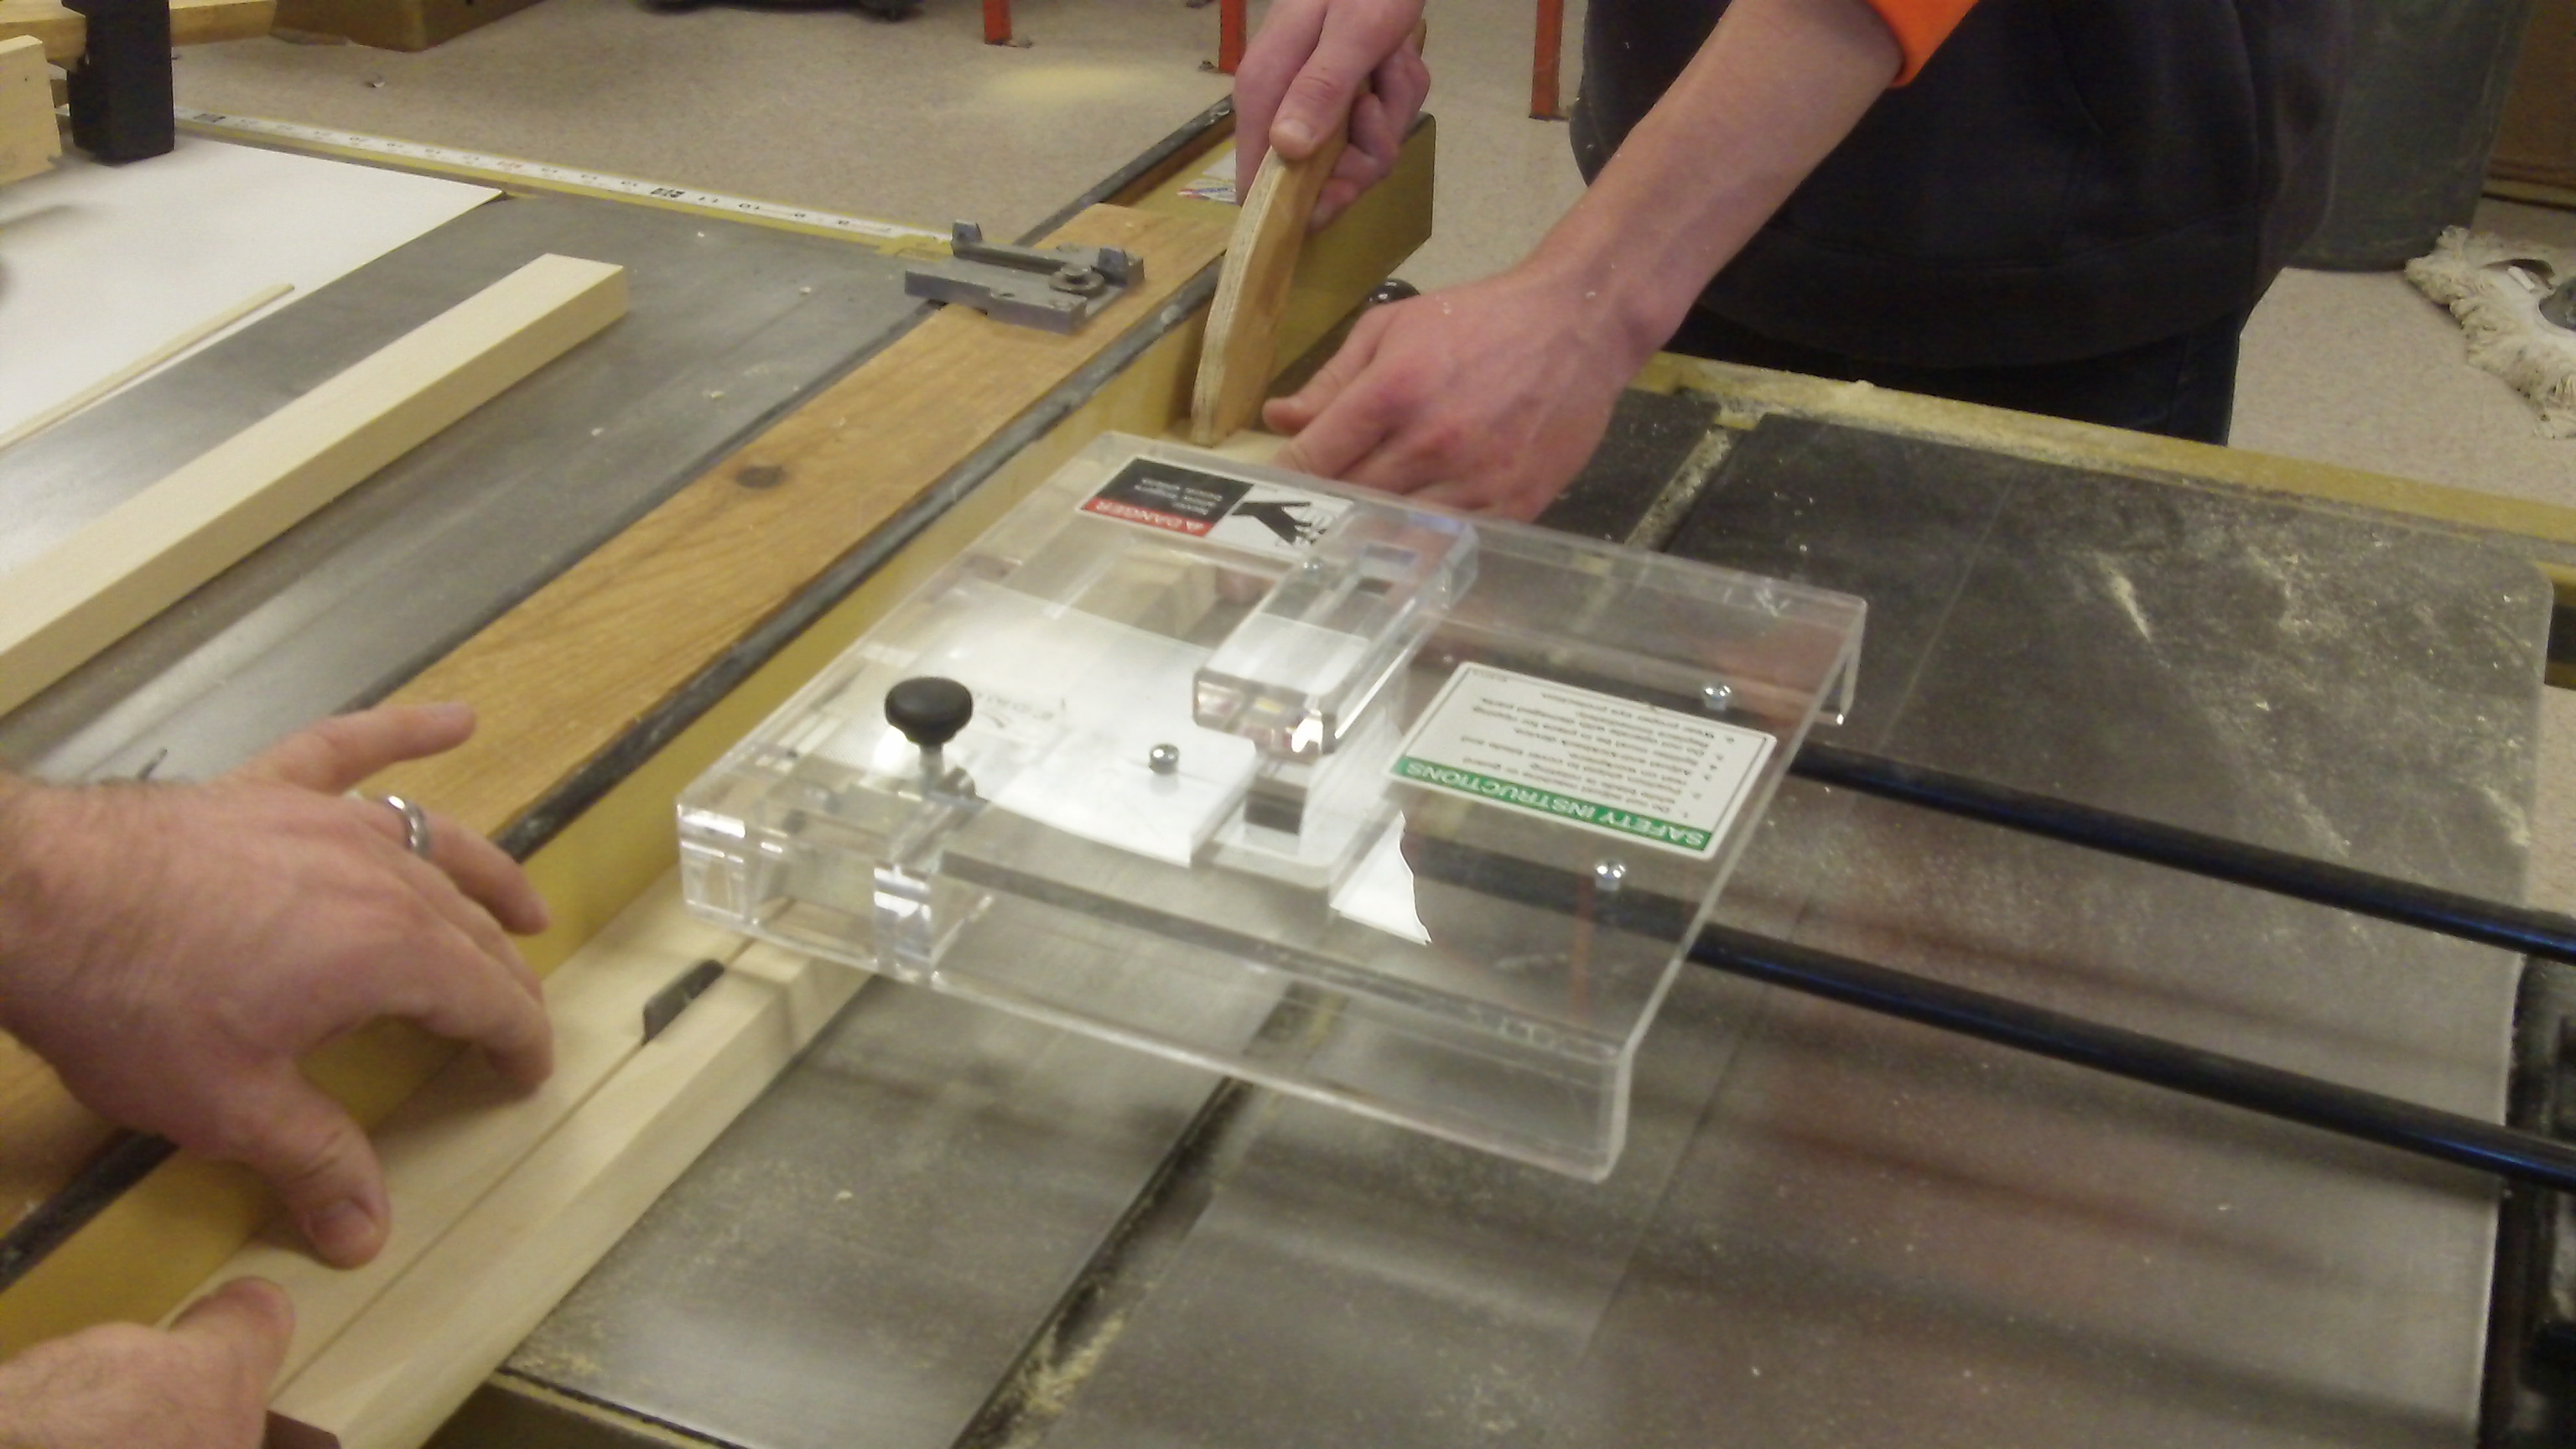
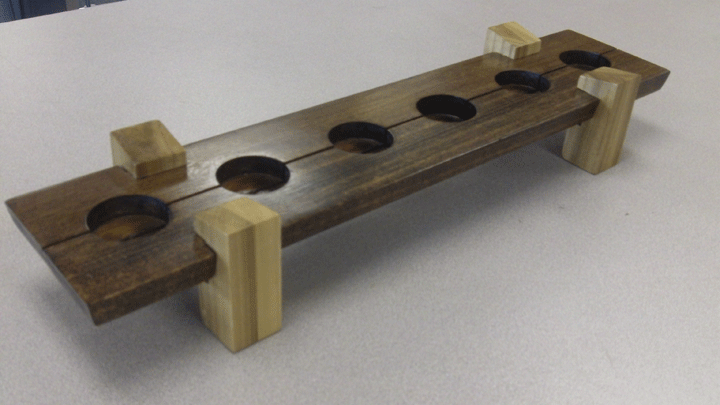
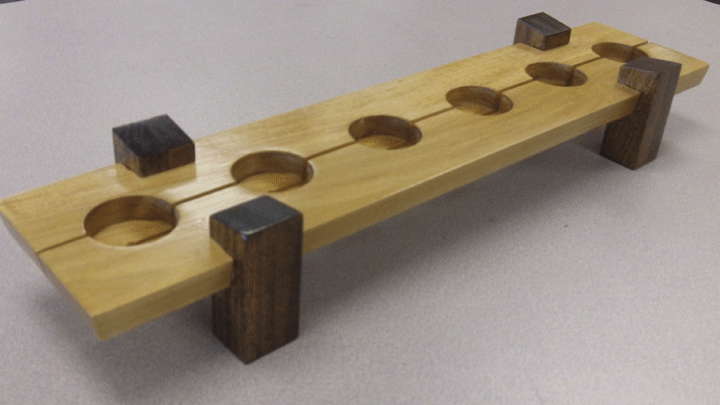
The wood candle holder project reviews many of the skills the students have learned so far in 9th grade along with many skills that they developed in 8th grade. The students first started the activity by drawing the various parts of the project in AutoCAD. This step provides students with a clear picture of what the various parts will look like and their size. The second phase of the project involves the students using the wood lab to actually fabricate the parts and assemble them. The students will be using the table saw, jointer, planer, miter saw, and others to process the parts of the project out of raw lumber. The third phase is the assembly and finishing phase. Students will be learning how to properly stain and seal their projects so the wood doesn't warp and to improve the final appearance of their projects. Students will be graded upon several aspects of the project including the students work ethic during class, construction, assembly, sanding, finishing, and overall final product. By the time the students have completed the candle holder project, the third marking period should be over, give or take a week. The bottom two images are just two of the completed candle holders from the current class of ninth graders. Students could use either a clear coat finish or a spray paint finish to complete their projects. |
||||
|
|
 The media file section
contains videos of various activities that students are
participating in during class. In order to view the media files,
click on the image of the video located just to the right of the
description. If you have any questions regarding images on the site,
send me an email. The symbols for Apple
QuickTime and Microsoft Media Player are trademarks of those
prospective companies and are displayed just to illustrate options
for viewing.
The media file section
contains videos of various activities that students are
participating in during class. In order to view the media files,
click on the image of the video located just to the right of the
description. If you have any questions regarding images on the site,
send me an email. The symbols for Apple
QuickTime and Microsoft Media Player are trademarks of those
prospective companies and are displayed just to illustrate options
for viewing.